From the Actions menu, select Add an app.
Click PowerPivot Gallery.
Enter the name as PowerPivot and click Create.
From the left hand side, click PowerPivot under Recent heading.
Click List name, description and navigation.
Select Yes on Display this document library on the Quick Launch and click Save.
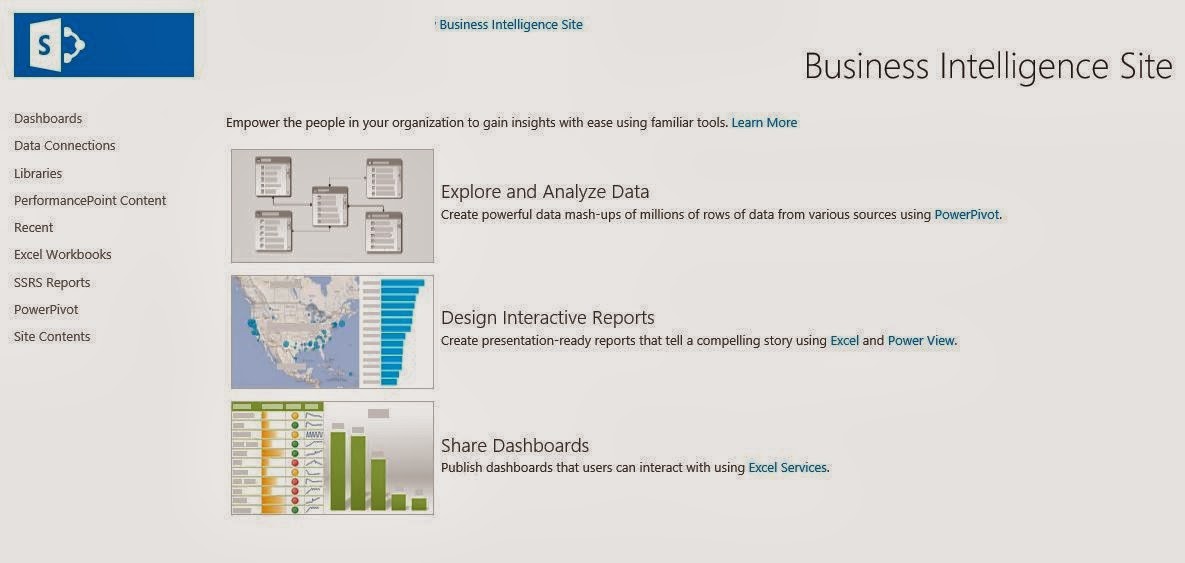
Go back to Main Business Intelligence entry page and you should have all the required apps now, something like below. You can start developing or uploading different PerformancePoint reports, PowerView reports, SSRS reports, PowerPivot Model and Excel Spreadsheet into this site.


No comments:
Post a Comment